ABOUT ME WIDGET

About
most recent projects
Recent
Showing posts with label Halloween. Show all posts

Friday, November 8, 2013

A Spell On You

Some things are born out of necessity. Such is the case with this layout. Trixie and Connie Prince (they form North Meets South Studios) decided to bring back to life a kit that a lot of designers originally created pieces for, but they decided they could make a kit with just their pieces. So, Trixie needed layouts done with just those pieces. This was mine.


SUPPLY LIST

KIT: Witches Brew by North Meets South Studios
TEMPLATE: Clean And Simple Vol. 2 by Blue Heart Scraps
FONT: Mom's Typewriter


Draculaura

There was a post made in Trixie's CT forum about a Monster High themed kit, I jumped on the bandwagon and begged for this kit. Trixie wasn't sure how she was going to do this, because she wasn't familiar with the show, but thank my lucky stars she found another designer who was more familiar with it and they teamed up to bring us Ghoul School.


I totally grabbed this kit ASAP and got to work, I knew exactly which picture to use as well.


SUPPLY LIST

KIT:  Ghoul School by Trixie Scraps & Ponytails Designs
TEMPLATE: Tuesday Template 22 by Megan Turnidge
FONT: Grant's Ghosts

Wednesday, July 17, 2013

To Gnome Me Is To Love Me

OH.MY.HECK!!! I was soooooo excited about one of Trixie's newest kits that I grabbed it right away. I found it awfully funny that she created this kit a month after my post about my indoor garden.

When I saw this kit, I knew that I had 2 pages to create with it right away and even though it took me quite a few weeks to actually get to it - I did make the 2 pages I wanted to. And because I was trying to get them done, I used templates from July's 2013 Templatetopia as well.

First page I did was about my son's Halloween costume a few years ago.


The next layout was, of course, about my indoor garden. It was a page that just needed to be scrapped!

...I accidentally put the wrong year on this page, though. Still need to fix that...

SUPPLY LIST

GNOME ON

KIT:
 Love In The Garden (Will be released in all stores later this week)
TEMPLATE: Multiphoto Temps Vol.4 (Part of July 2013 Templatetopia)

HOW DOES MY GARDEN GROW?

KIT: Love In The Garden
TEMPLATE: Trixie Scraps Triple Play Vol. 2 (Part of July 2013 Templatetopia)

Monday, June 24, 2013

CASTLE

It was my turn for another Master's Monday over at the Trixie Scraps blog.

You can read my most recent tutorial on Adding Peek Through Shapes To A Layout...

If you're not interested in reading the tut, you can look below for the layout. It's not exactly what I envisioned in my head, but it's okay...


SUPPLY LIST

FONTS: Rough Typewriter (wordstrips), AGaramond LT Titling (Castle Title)

Saturday, May 11, 2013

Blogging & Sweet Little Butterfly

Last week Trixie created a kit for part of iNSD, when I saw it - I had to have it. I wish I had posted this sooner, but life didn't happen like that and this kit isn't available currently. Anyway I was able to create 2 different layouts with this kit and I have one more in my mind...

Layout #1 was made with the kits main object in mind. It's all about my love of blogging:


SUPPLY LIST

TEMPLATE: What's Your Angle Vol. 1 by Trixie Scraps

KIT: Social Butterfly by Trixie Scraps

FONT: My Own Handwriting


I was pleased with Layout #2, I was able to use a kit for a purpose other than what it was designed for. That rarely happens for me, so I was excited by my end product.


SUPPLY LIST

TEMPLATE: Stamper's Block Vol. 1 by Trixie Scraps
(Part of April 2013 Templatetopia)

KIT: Social Butterfly by Trixie Scraps

FONTS: CK Penman (Little) and Firefly Castle (Butterfly)

Monday, October 15, 2012

Making Halloween

I love, love, love Halloween. I'm always on the lookout for more Halloween decorations.

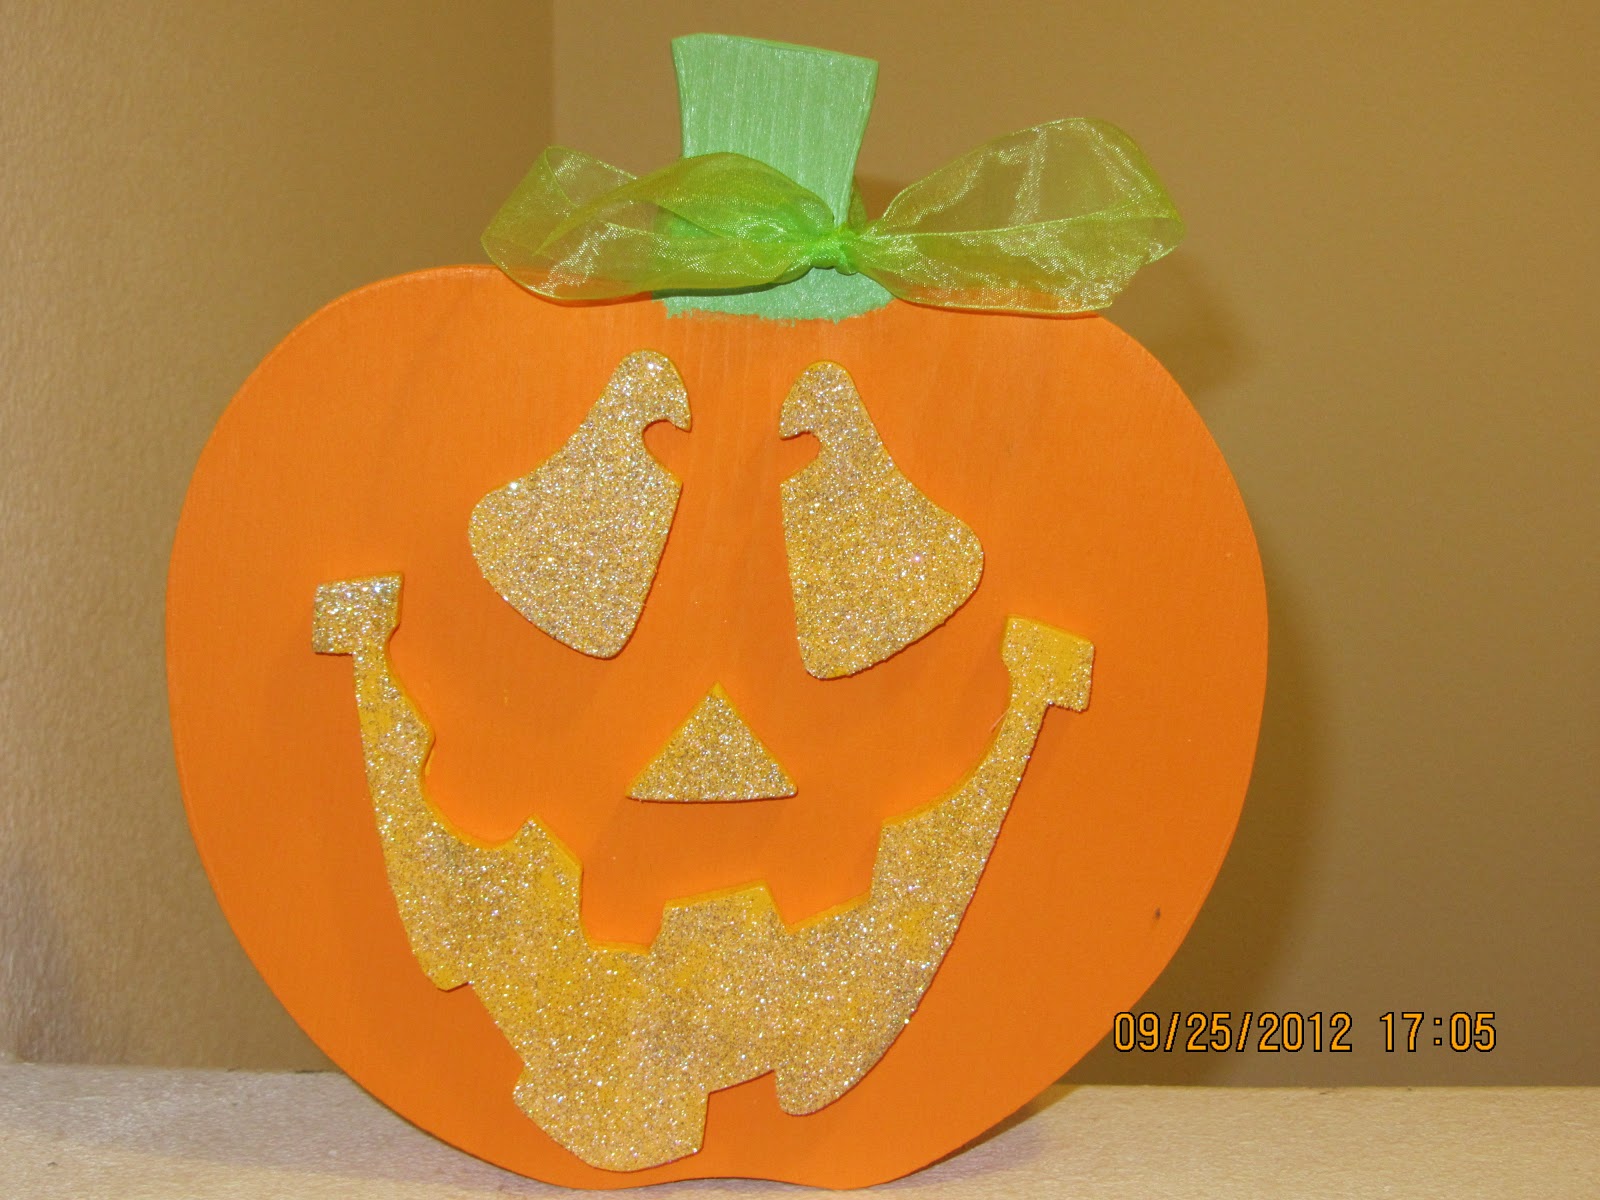
This year I headed over to The Wood Connection towards the middle of September and had a hard time making decisions. I could've spent a boatload of money, which I didn't have - so I had to pick and choose.

These were the winners...


Then I decided to make use of a wood plaque thing that I bought off our area yard sale group on Facebook. I paid $7 for both, which is a little less than you'd pay for one. When I originally bought them, I didn't know what I was going to do with them, but I knew I'd figure something out eventually and well I've done one project and I know what the other's going to be. Anyway, here's what I did with it using this trick.


These were all so much fun to do and I love having these new decorations for the house.


Tuesday, November 1, 2011

Yabba Dabba Doo!!!

Halloween has now come and passed. But I have to share with you my 18 month old's costume and give you some background.

So sometime in September we were visiting with some of my hubby's family. My little girl had a dress with some rough shapes on it and a diaper cover that matches. I do her hair whenever we go out, but she also has a habit of pulling it out if we are in the car long enough.

So she has this dress on and her hair is looking wonderful so my brother in law says something like, "Hey, Pebbles." Then my hubby and his brother have a conversation in which my hubby mentions that our little girl was going to be Pebbles Flintstone for Halloween. This was news to me, but I went along with it.

Fast forward to looking at Halloween costumes and I just wasn't thrilled with what I was seeing.
The commercial costumes you can buy for a girl my baby's age just looked stupid. I didn't want to pay money for something so silly.

I thought, I can put something together for the same price or cheaper and be happier with the look. I wanted a certain look and everytime I got worried about getting it to look right, my hubby told me to just use the dress. I didn't want to use the dress because the colors weren't right.

So the day comes that we go buy all the kids their costumes and we stopped at Target to see what we could find that would work for a Pebbles Flintstone costume. We had a tough time finding a plain green shirt, but we eventually came across one that had ruffles on it. It was good enough. We set about finding a diaper cover in blue, but couldn't find anything.

A few weeks later I was at Gardner Village and found a tutu in green and bought that. After looking at it closer, I discovered it had little Tinkerbell bling stuff on the bottom. It wasn't going to work for Pebbles. It's cute and TINKERBELL, but it wasn't going to go well with the shirt. I then kind of spaced finding a bottom.

5 days before Halloween I decided I needed to get busy on the costume. I don't really sew and you can read a long explanation of why, here. And I was really quite nervous about it. We had no backup plan for another costume, nor did we have money to buy another costume. Anyway, I set about getting a costume together.

When I realized I forgot about a bottom, I also realized that one of my boys had a fairly 'ugly' set of shorts that would probably work if I cut the legs out and turned it into a skirt. So I grabbed that.

And I went about trying to turn this:


Into a Pebbles Flinstone looking costume.

My first step was to make a template of the 'stone pattern' in the top. This was that template:


I was using felt for the stones.


So I pinned the template to the felt and cut around the template. What made this costume nice was that it didn't have to be PERFECT, so I cut different size stones. They were all fairly close in size, but they weren't all exact.


I then placed them on the shirt and tried to get it looking like I wanted.


When I had it how I wanted, I pinned the felt to the shirt.


I then sewed the felt stones to the shirt. And even though I don't sew very much at all, it was very therapeutic on this day...

Anyway, after I sewed one side I needed to let the machine cool down. (It's an older machine and the hotter it gets, the more often the thread breaks) So while the machine was cooling down I set aside making Pebbles hair bone.

For the hair bone, I used an actual dog bone, black twine (my baby's hair is dark) and the spray color I planned on using for my daughter on Halloween).


I wrapped some twine around the bone to see how much I wanted. Then I cut the twine to that length. After that I sprayed the heck out of that black twine. (Thought I took a picture of that, but goblins must've deleted it or something...)

While that was drying I sewed the other side of the shirt.

Then I went back to the bone. I hot glued the twine to the dog bone in no real order, just kind of went with the flow. I then glued to bone to a clippy. This was the finished product:
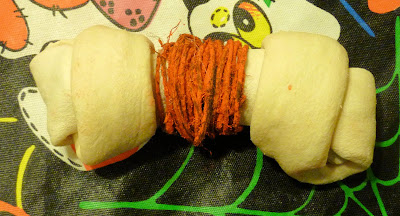

For the skirt, I just cut the legs off the shorts:


Then I made triangle cuts in the bottom. Again thank goodness the less perfect it looks, the better it works for this costume.

This was the completed product:


And this is how it looked on my baby: (Even if she didn't want to cooperate for pictures and we live somewhere where Halloween night can get cold, thus the white pj's underneath)

Wednesday, October 19, 2011

Wanna Make The Kids Happy???

I like to visit How Does She? quite often. However, just recently I signed up to get their newsletter. I know - what's wrong with me? Anyway in one of the most recent newsletters I saw THIS! Now how could I pass that up? Seriously!

Now because I am trying to lose weight I didn't eat even 1. Can you believe it? Okay, it helped that it was covered with candy melts and I'm not crazy about candy melts. I also wasn't able to find candied eyeballs, so I improvised with chocolate chips. How can you go wrong with chocolate chips? I also couldn't find sucker sticks and came across coffee stirrers. I don't drink coffee, so I didn't know these were available, but guess what THEY WORKED and the kids now use them as straws. Hahaha!


Anyway, my kids LOVED these and kept asking for more. I even think the hubby stole one or two. I think they are cute and it's things like this that make me enjoy baking! Just wish I was able to avoid eating everything I baked... ;)

Monday, August 17, 2009

LadyBug

Still Halloween time.

Because my daughter was still too young to really make a decision on her Halloween Costume we decided for her.

My parents always called me, "Shilobug" and referenced it to lady bugs, so when I found a ladybug costume, I had to use it!

I love the fact that even though this is a "Halloween" layout, I was able to steer clear of the regular Halloween colors!

The original design can be found in Creating Keepsakes Magazine, August 2009 issue, Page #80, The Bridge Layout.


SUPPLY LIST:
Cardstock: Unknown
Patterned Papers: DCWV Christmas Stack
DCWV The Stack (Unsure of #)
Title Font: Forte
Name Font: Flik
Foam Heart: Unknown (Another item I've had for many years)
Ribbon: Stampin' Up
Ladybug Diecut: Cricut Cartridge Doodlecharms
Other: Staples

Spooks

Halloween Time! One of my favorite times of the year.

I really like how this ended up!

The original idea can be found here.


SUPPLY LIST:
Cardstock: Unsure
Patterned Papers: DCWV The Fall Stack
Title: Cricut Cartridge Cuttin' Up
Stamp: Stampin' Up
Moon Die Cut: Cricut Cartridge George and Basic Shapes
Brads: Making Memories
Ghost: Unknown (I've had it for many years)